About
PreForm is a free software of Formlabs that uses advanced, propriety calculations to generate supports and optimize print settings for each printed part. Each installation of PreForm also includes the latest version of printer’s firmware that you can update any time to stay up to date.
Formlabs
PreForm main functions are Scale, Orient, Support, and Layout. These functions can be easily generated through the One-Click Print feature.
Getting started
First, you have to connect your PreForm to the printer. Click “Add” to enter the IP address, which can be found on the printer’s touchscreen, “Settings -> Connectivity.” Either wifi or ethernet IP address shall work.

After having access to your printer, you should import your 3D model file to PreForm. To do that, select “File -> Open”, choose any stl, obj, or form file from your computer. You can also click and drag the file into PreForm from its folder location.
The white grid at the bottom of the box is your build platform. At the top right corner of the page are the visual navigation icons. Click and hold the right mouse button to rotate around the platform, and drag to alter your vision of the build space. Select your model and click and hold the left mouse button to move around the model. (FYI: the model can only be moved within the surface of the white grid). If you get lost to your selected model, simply click the eye button on the right up corner, this will center you back on your model. On the right hand side of the page you have the slicer tool, it will display your print in layers when you slide the icon from bottom to top, so that you can see the process through which it will be made.
On the right side of the page is the Job Info, Printability allows you to monitor and indicate if your model has any integrity errors. Show Minima button will mark unsupported minima on your model in red. Show Cups button will show cupping on your model in yellow. These two indicators will help to highlight where potential issues might happen during the process of printing.
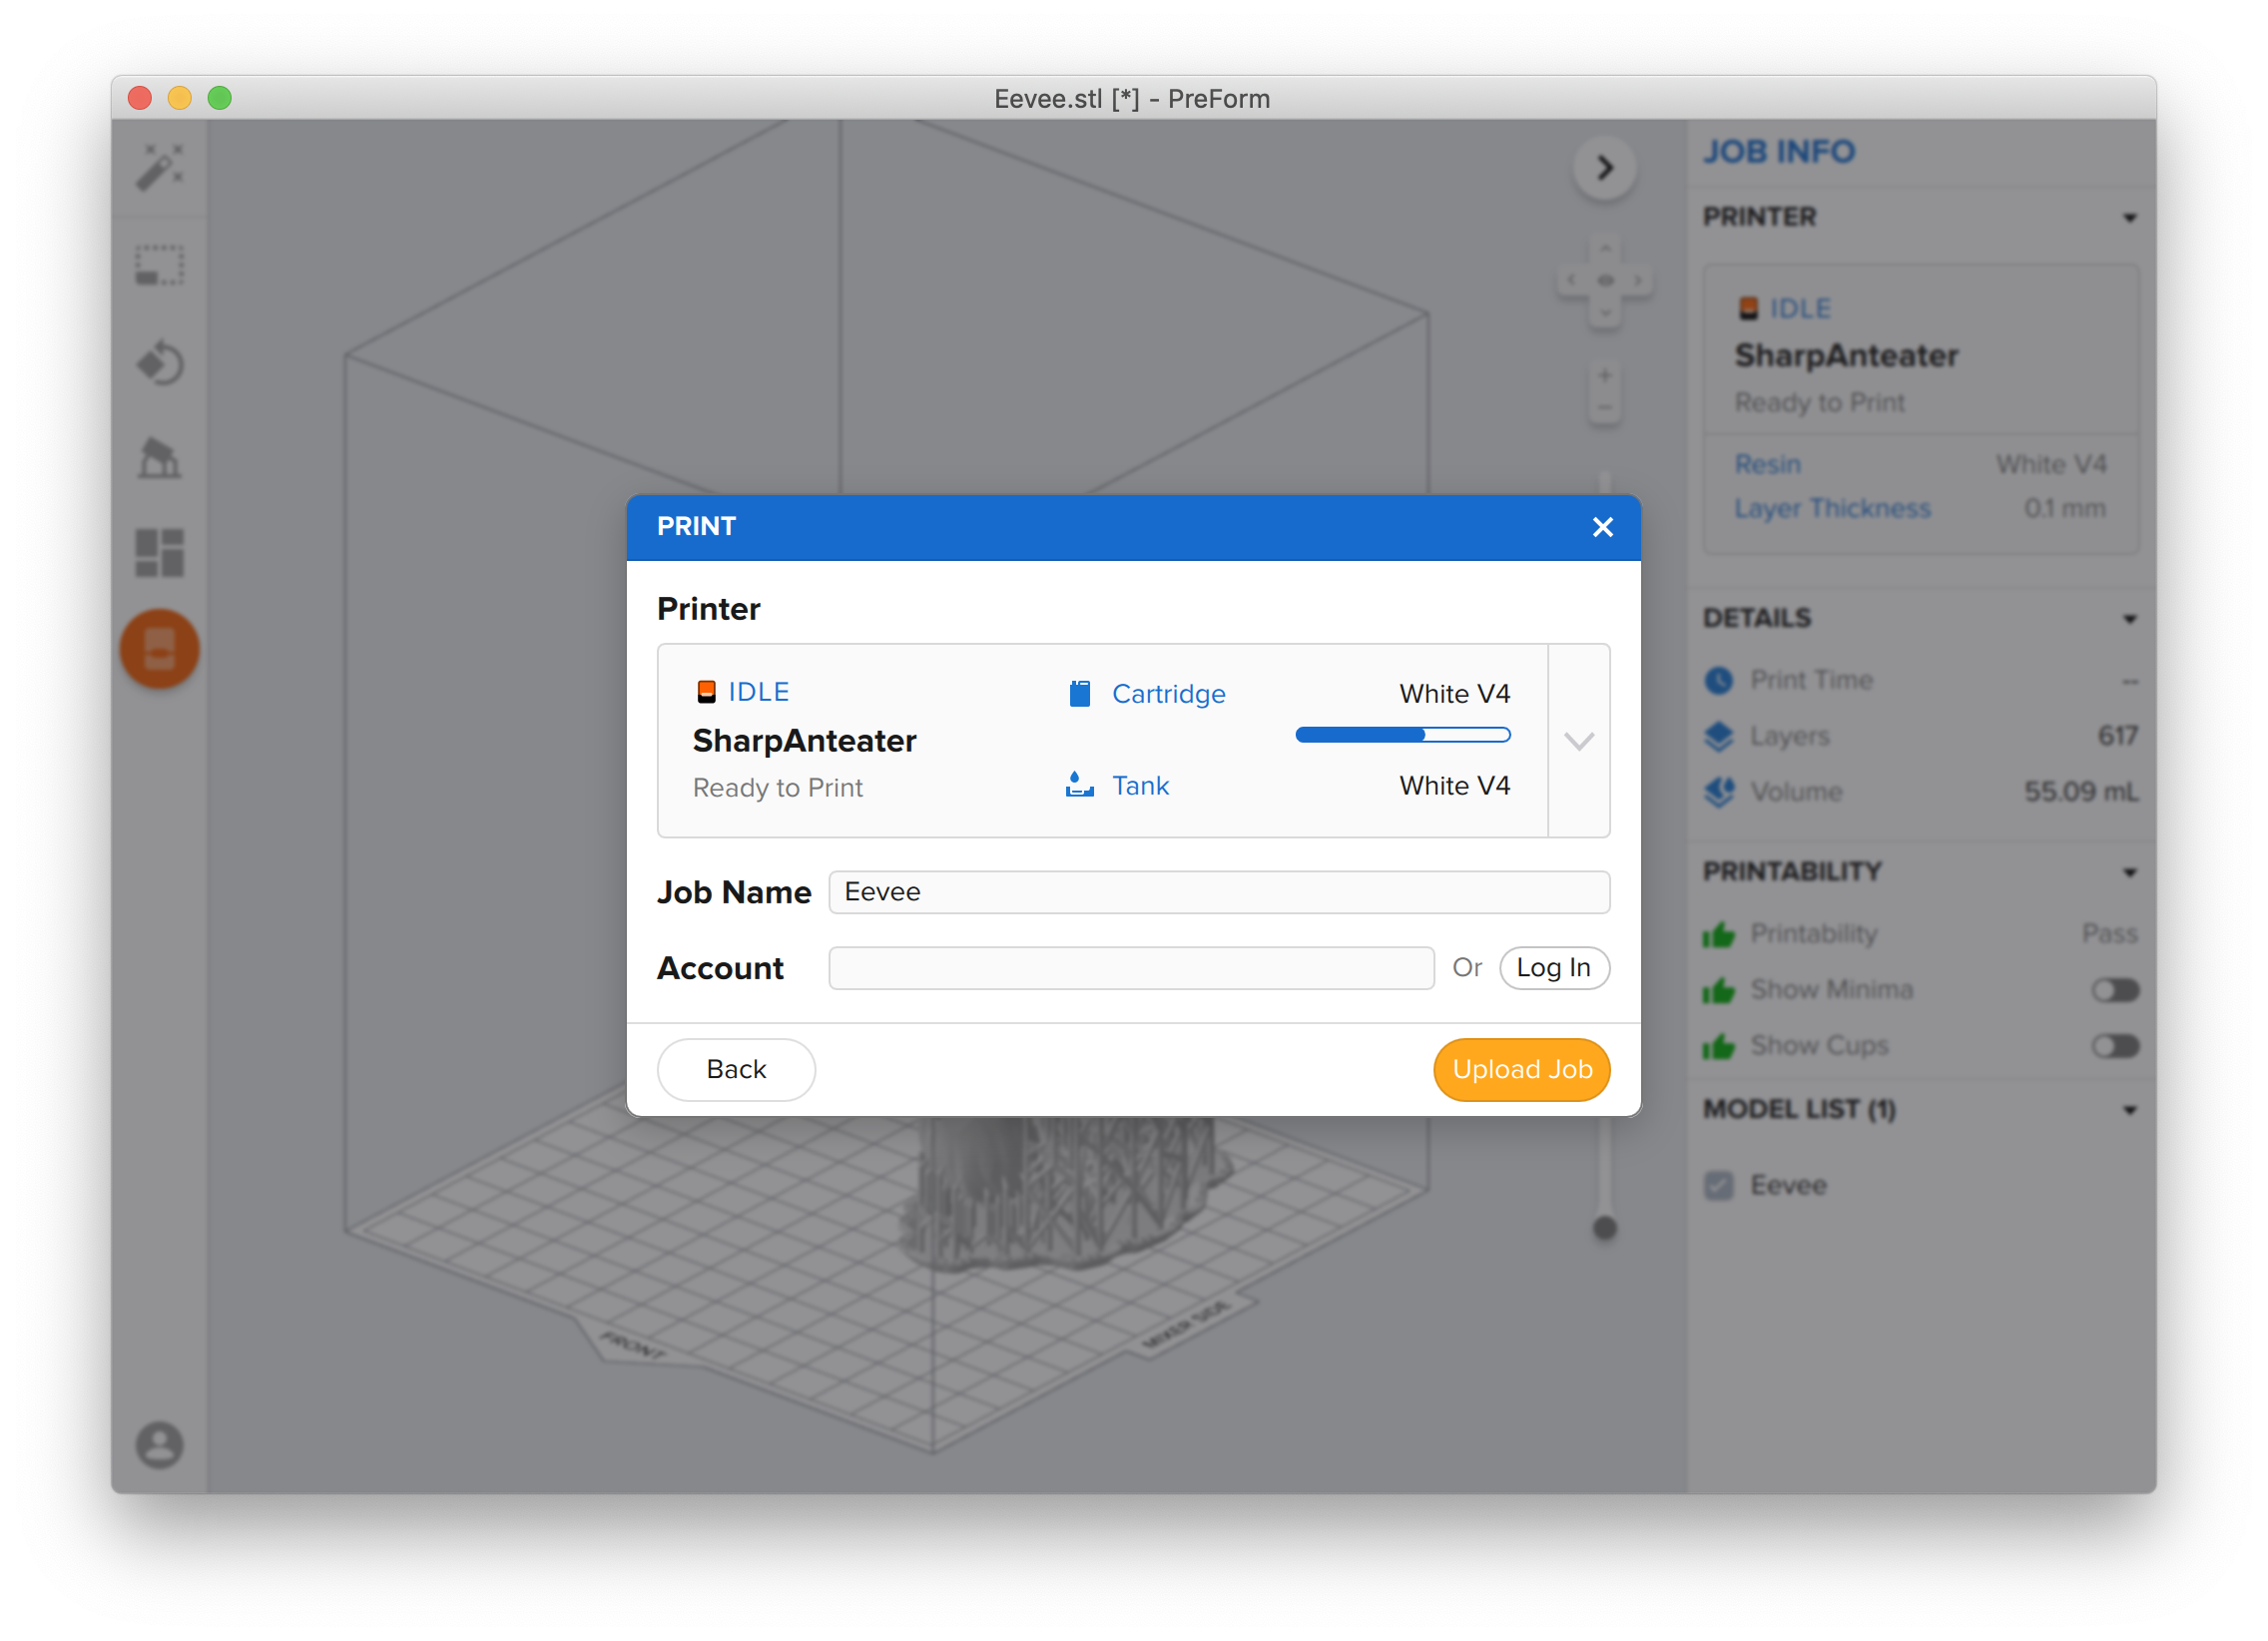
On the left side of the page there is a tool bar, including useful tools One-Click Print, Size, Orientation, Supports, Layout and Print.
One-click Print: automatically orient and support your model in one click.
Size: help to resize your print in three dimensions.
Orientation: either automatically or manually orient your model and select the direction that you would like it to face.
Supports: ensure your model is adequately sustained during printing. More, you can edit the density, touchpoint size or other advanced options to your support structure. You can either automatically or manually add supports.
Layout: help to maximize the build volume of your printer by arranging your parts to ensure they do not overlap with each other.
Print: after you have done all the work you want your model to be set, you are ready to print. Dashboard allows you to track your print online.
Find more solutions on FormLabs -> Support if encountered with further questions.