
After few weeks of rapid prototyping we’ve finished Duke’s version of the LightBoard pioneered by Michael Peshkin.
[youtube]http://www.youtube.com/watch?v=N1I4Afti6XE[/youtube]
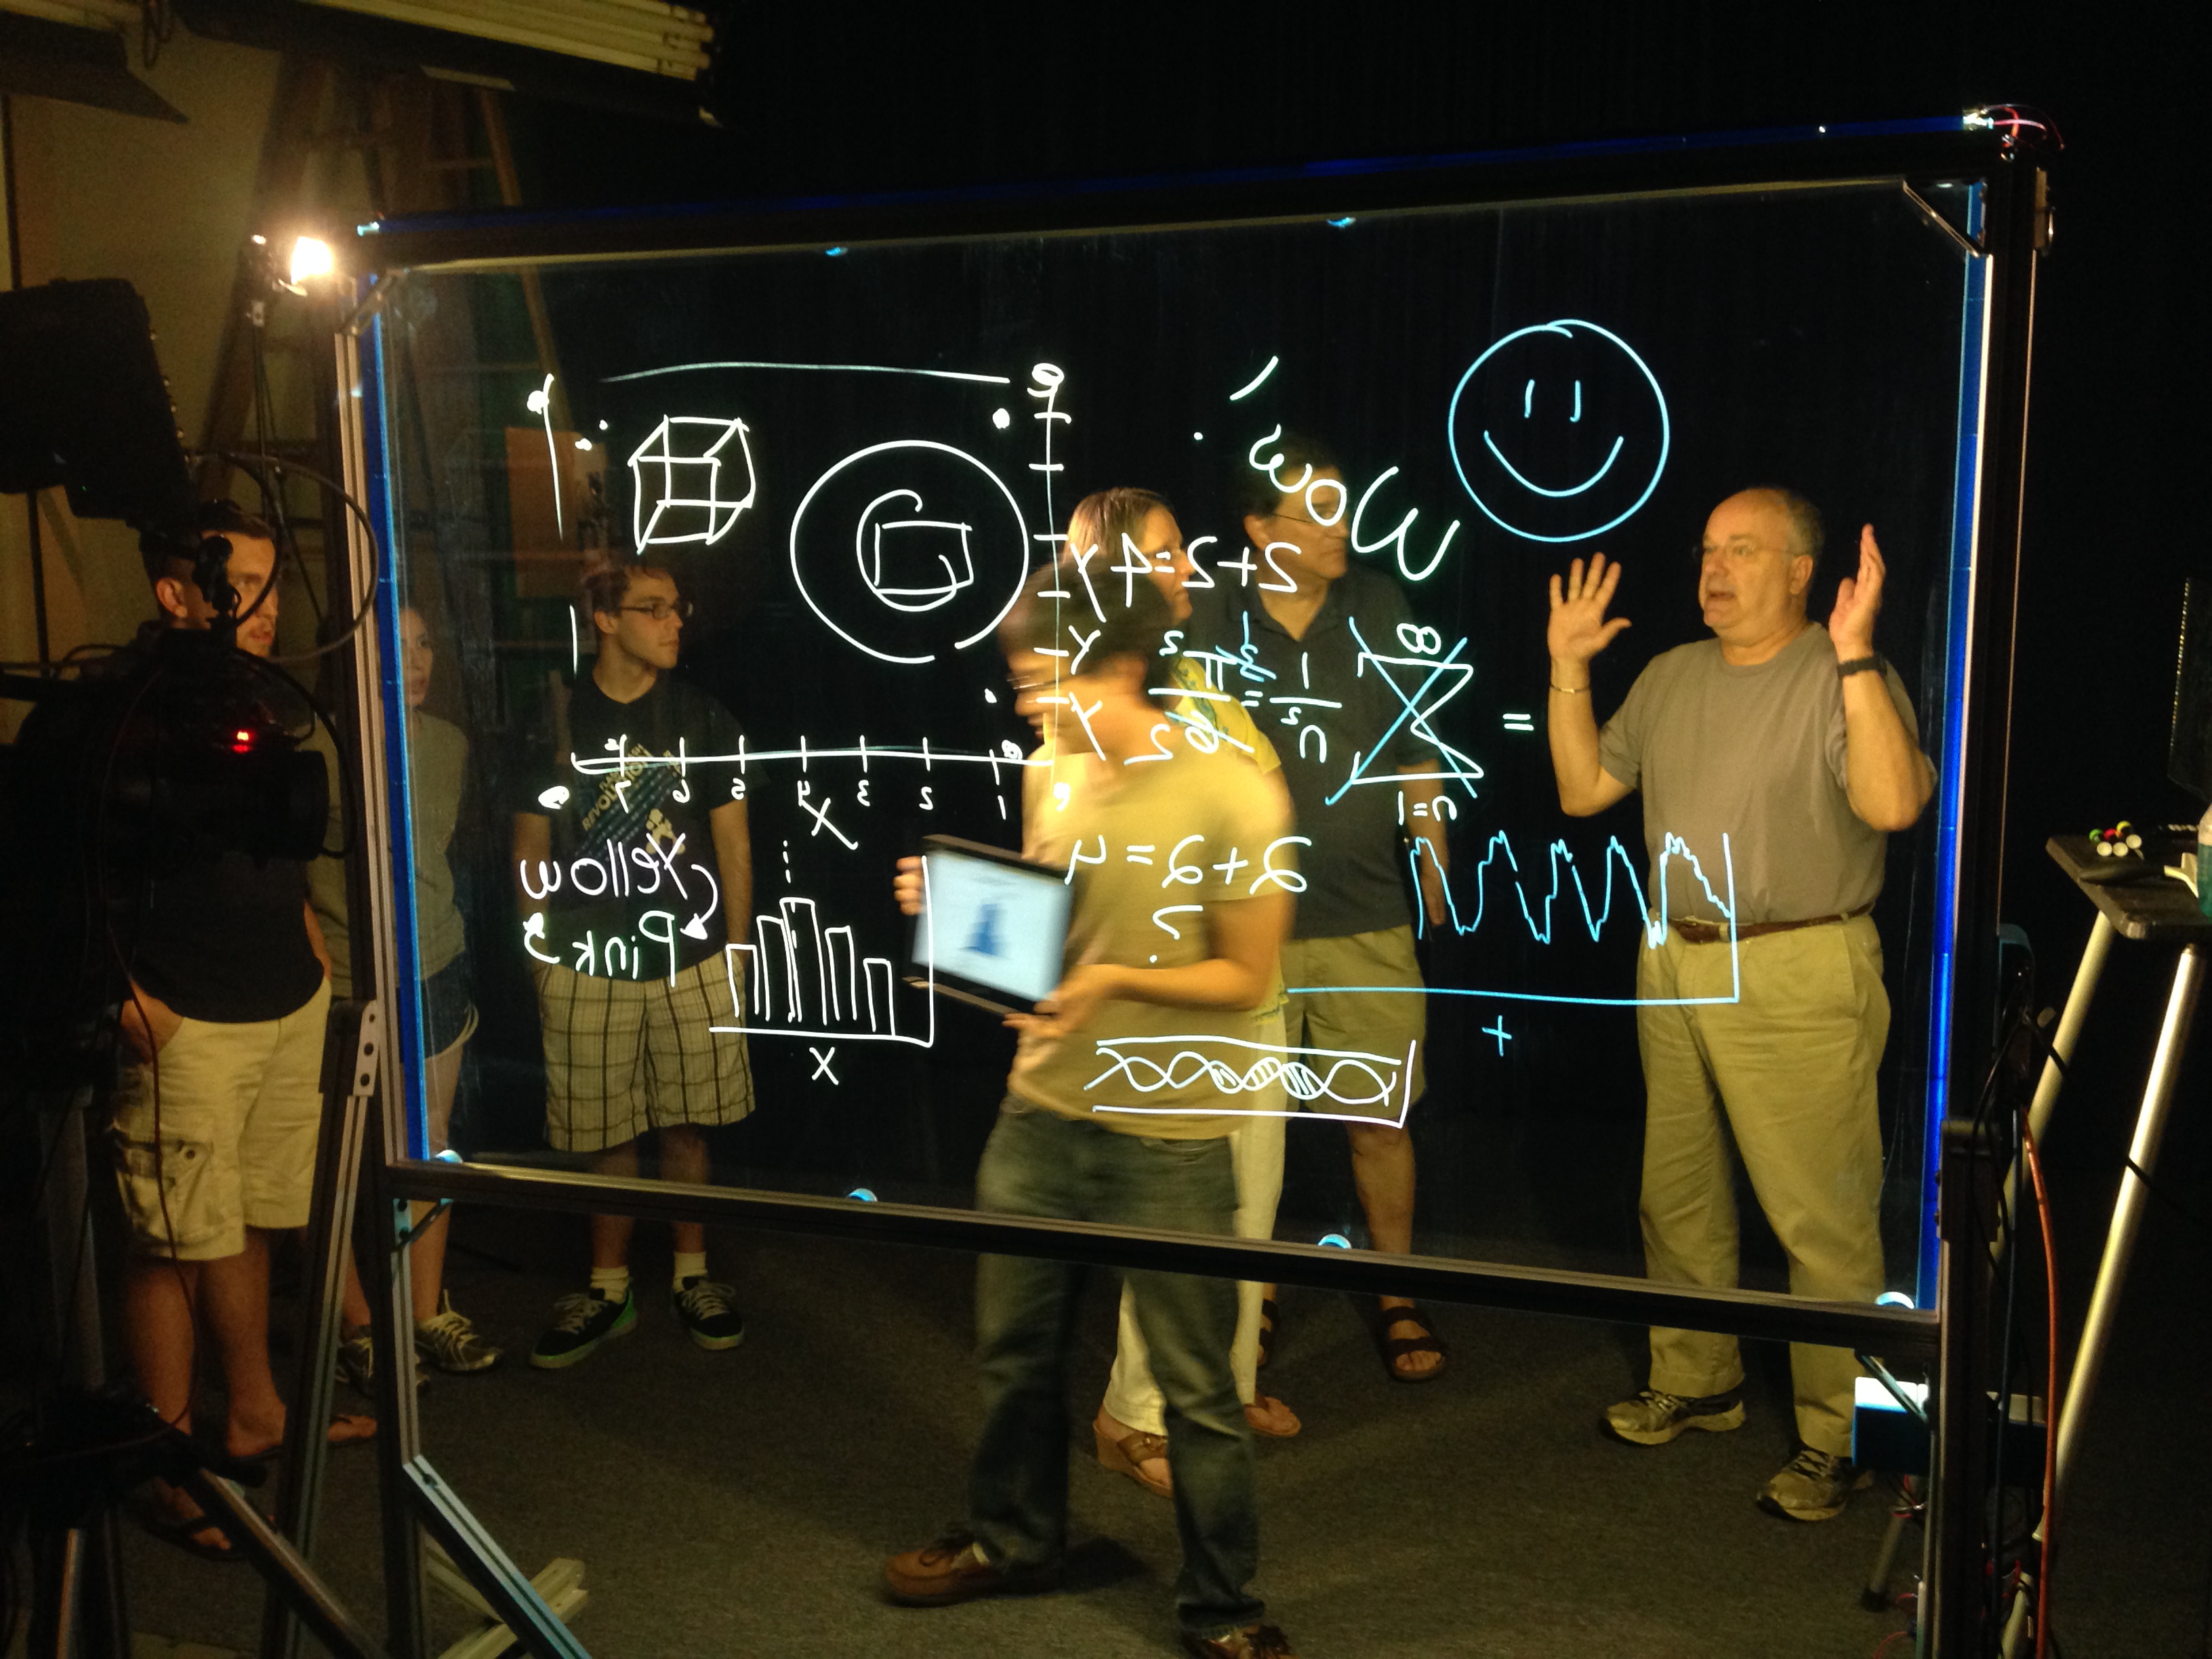
This great project will give a low tech method for people with traditional whiteboard learning modules to present them in a more camera friendly way for lecture capture or production. The concept is simple, a large piece of glass is placed between the presenter and the camera who writes on it with a day-glow marker. The video is mirrored so the text appears correctly to the viewer. The result is a presentation where the lecturer can visually explain the lesson without turning their back to the learners or blocking the writing with their body.


That’s the simple concept. In actuality the engineering was more difficult and we had several project goals and improvements we wanted to make over the original Peshkin model:
- The project needed to be portable and lightweight but still not vibrate or move
- Our version should simplify the lighting challenges as much as possible
- The unit should be quickly deploy-able since it will be setup before and after shoots
- The design of the system should not include any more custom fabricated parts than necessary and should consist primarily of commodity components easily sourced online
- Final design should be documented and easily constructed by a junior technician or a non-professional fabricator. It should not include any skilled labor for the build such as complicated electrical work, welding or metal cutting.
We made several simple improvements to accomplish our goals. The structure was built entirely of 80/20 extruded aluminum making it light weight and simple to build while being easily sourced through online retailers. We opted for an electronic solution to mirroring the camera versus using physical mirrors. The system uses high quality casters making it easy to move. The height of the design was also a factor as it needed to fit through a standard commercial door. We avoided the temptation to at every turn to involve more complicated components and processes for the sake of simplicity.

Regarding our lighting and deploy-ability. We are operating on the assumption that most universities have access to a 3D Printer at this point. Components that utilized custom designs have been published in formats that are easily 3D printable. The designs of those components are also easily fabricated with simple carpentry in any campus wood or scene shop.
The one stand out of the design is the LED mounting system. We found that no such product existed on the market so we designed our own and consider it to be the center piece of this version. We found that holding the LED’s directly to the glass was the key to using low cost LED strips and less power. The further the light source is form the glass, the less illumination there is by orders of magnitude. There is also light leakage. The system we designed holds the LED strips precisely and directly to the glass leaving little light leakage and greatly improving the efficiency of the light transmission. We also discovered that a key to the design was to have the space on the lecturer half of the board well lit while the camera side of the board remains as dark as possible. Applying large studio lights to that goal makes traditional 3-point lighting difficult since the lecturer will be just two or three feet from the glass. To overcome that problem we added additional tracks for more LED’s that can discretely but effectively and evenly illuminate the subject. This also allows light tuning, the strips on the subject side can be tuned to 2700-3000K for skin tones while light penetrating the glass can be tuned to 6000K to better illuminate the markers. The result of the LED Clip greatly reduces the need for additional studio fixtures.


Open Hardware
We have done diligence documenting the build process and hope this can assist other institutions in constructing their own! https://wiki.duke.edu/display/LIG/Lightboard

