You will need ROS installed on your machine in order to proceed. The recommended version of ROS used in this tutorial is ROS Noetic. If you haven’t already, install ROS for your operating system, the instructions of which can be found here (note you will need to have Windows or Linux to install ROS). You will also need to have Visual Studio Code installed, as we will be using the Platformio IDE as the programming software for the Arduino. This is because this IDE can be easily used for any microcontroller (i.e. Teensy, ESP32 and many more). Once you have these installed and verified that ROS is installed on your machine, you will need to install the ROSSerial package.
Due the ever evolving nature of ROS, you will need to ensure that you install the version of ROSSerial that matches your distribution of ROS. At the time of writing this article, the current version of ROSSerial (the noetic devel) cannot be found on many of the standard package managers (apt, packman etc.) and must be built from source.
Start by making a catkin workspace on your machine.
mkdir -p catkin_ws/srccd catkin_ws && catkin_make
To access the source code, you will need to clone the remote repository for the ROSSerial package in the source directory of your catkin workspace.
cd catkin_ws/src && git clone https://github.com/ros-drivers/rosserial.gitcd catkin_ws && catkin_make
You can then run the install of the package in your workspace by using:
catkin_make install
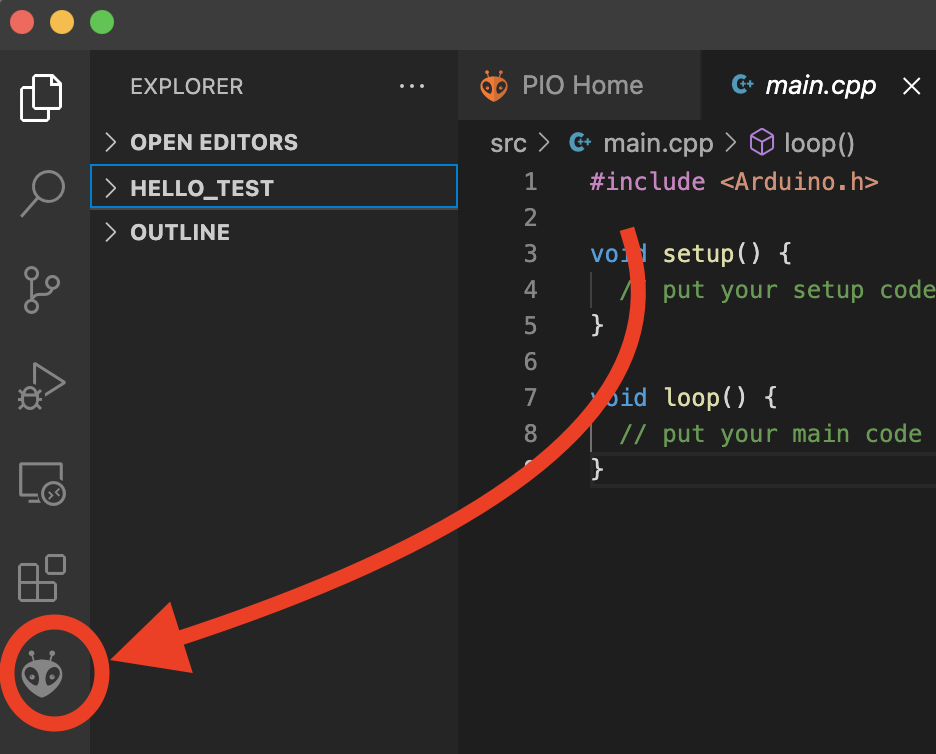
Let’s now make a new project for the firmware we will be writing for the Arduino. Open Visual Studio Code and select the Platformio icon on the left side bar.
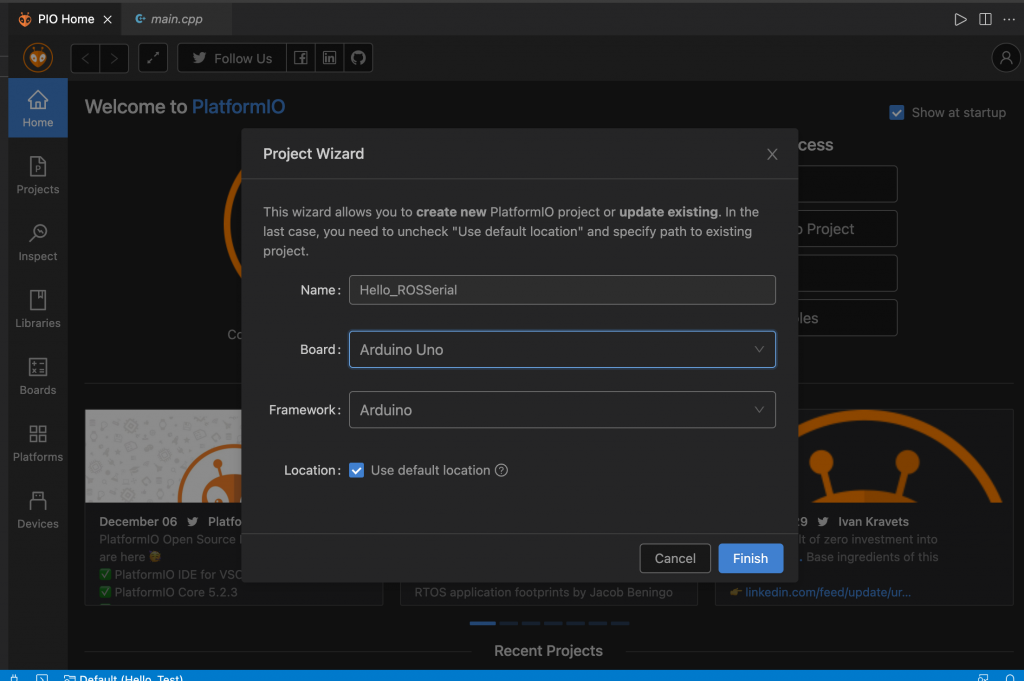
From the Platformio home menu, select “New Project”. This will prompt you with a pop-up box where you will provide a name for the project, the type of board you’re working with (in our case, the Arduino Uno), and the framework for the project (Arduino is the only framework so you don’t need to worry about changing it).
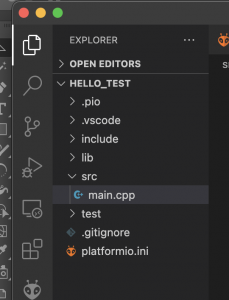
Platformio will then build a new project and generate useful directories for you. Your project structure should look like the following.
You are now ready to build the packages you need for the project. Within your project, navigate to the “lib” directory. Right click on it in visual studio code and select “Open in Integrated Terminal”. This will open the directory in a terminal within Visual Studio Code. Within the terminal window you just opened, run the following command:
rosrun rosserial_arduino make_libraries.py .
This will build the ros_lib library in your project. Once this is finished we can move on to using our test script for out microcontroller.
Lets now make our test script for our Arduino. Within Visual Studio Code, go to the “src” directory and open the “main.cpp” file inside of it. This is where we will write the code to flash to our Arduino. We will write an example publisher that will write the character string “hello world” to a ROS topic we will call the “chatter” topic. This is based on the publisher code within the examples folder of the “ros_lib” directory we just built in the previous section. Write the following code within “main.cpp”.
   #include <Arduino.h>
   #include <ros.h>
   #include <std_msgs/String.h>

   ros::NodeHandle nh;

   std_msgs::String str_msg;
   ros::Publisher chatter("chatter", &str_msg);

   char hello[13] = "hello world!";

   void setup()
   {
     nh.initNode();
     nh.advertise(chatter);
   }

   void loop()
   {
     str_msg.data = hello;
     chatter.publish( &str_msg );
     nh.spinOnce();
     delay(1000);
   }
This includes the “ros.h” package as well as the data type we will need from “std_msgs”. We then initialize the node handle object and the a variable of the “std_msgs” data type we just imported:
ros::NodeHandle nh;std_msgs::String str_msg;
We then create the chatter publisher:
ros::Publisher chatter("chatter", &str_msg);
and make a character string with the data we want to pass in (in our case, hello world). After that we initialize the node and advertise it to the chatter topic within the “setup” loop of our file. With the node setup, we can then pass our character string to the “data” component of the “str_msgs” variable we defined earlier. We then pass a reference of the variable to be published by the “chatter” topic. At the end of the script we will call ros::spinOnce(). This is where all of the ROS communication callbacks are handled and should be called at the end of every publisher script you make.
Now that the code is ready, we will flash it to our Arduino board. Connect the Arduino board to your device using the cable provided with it. You can then compile and upload your code to the board by pressing the arrow button on the bottom blue bar of the VSCode window.

Once the code is compiled and uploaded, we can test if our node is working properly. On your machine start the roscore.
roscore
Now run the rosserial application that forwards the message from the Arduino to ROS. Note that the final argument is the port you are forwarding from so make sure that it matches the port your Arduino is connected to.
rosrun rosserial_python serial_node.py /dev/ttyUSB0
If everything is setup correctly, the node on the Arduino should be start publishing “hello world” to the chatter topic. You can view this in a separate terminal with the following command:
rostopic echo chatter
Look at the output to verify that it’s corret. Congradulations, you’ve just setup a ROS node on your Arduino