
For a recent project I was assigned the responsibility of shooting and editing a short 1 minute promotion for the Technology Engagement Center. Initially I came up with a nifty electric laser title for the piece but it came off as potentially intimidating to the target audience of faculty, staff, and students in the Duke community who aren’t that tech savvy. Instead, it was requested that I take the existing logo and get creative with it. No problem. The initial logo was designed in Adobe Illustrator. It’s a fairly simple and straightforward design with four overlapping hexagons and a title at the bottom.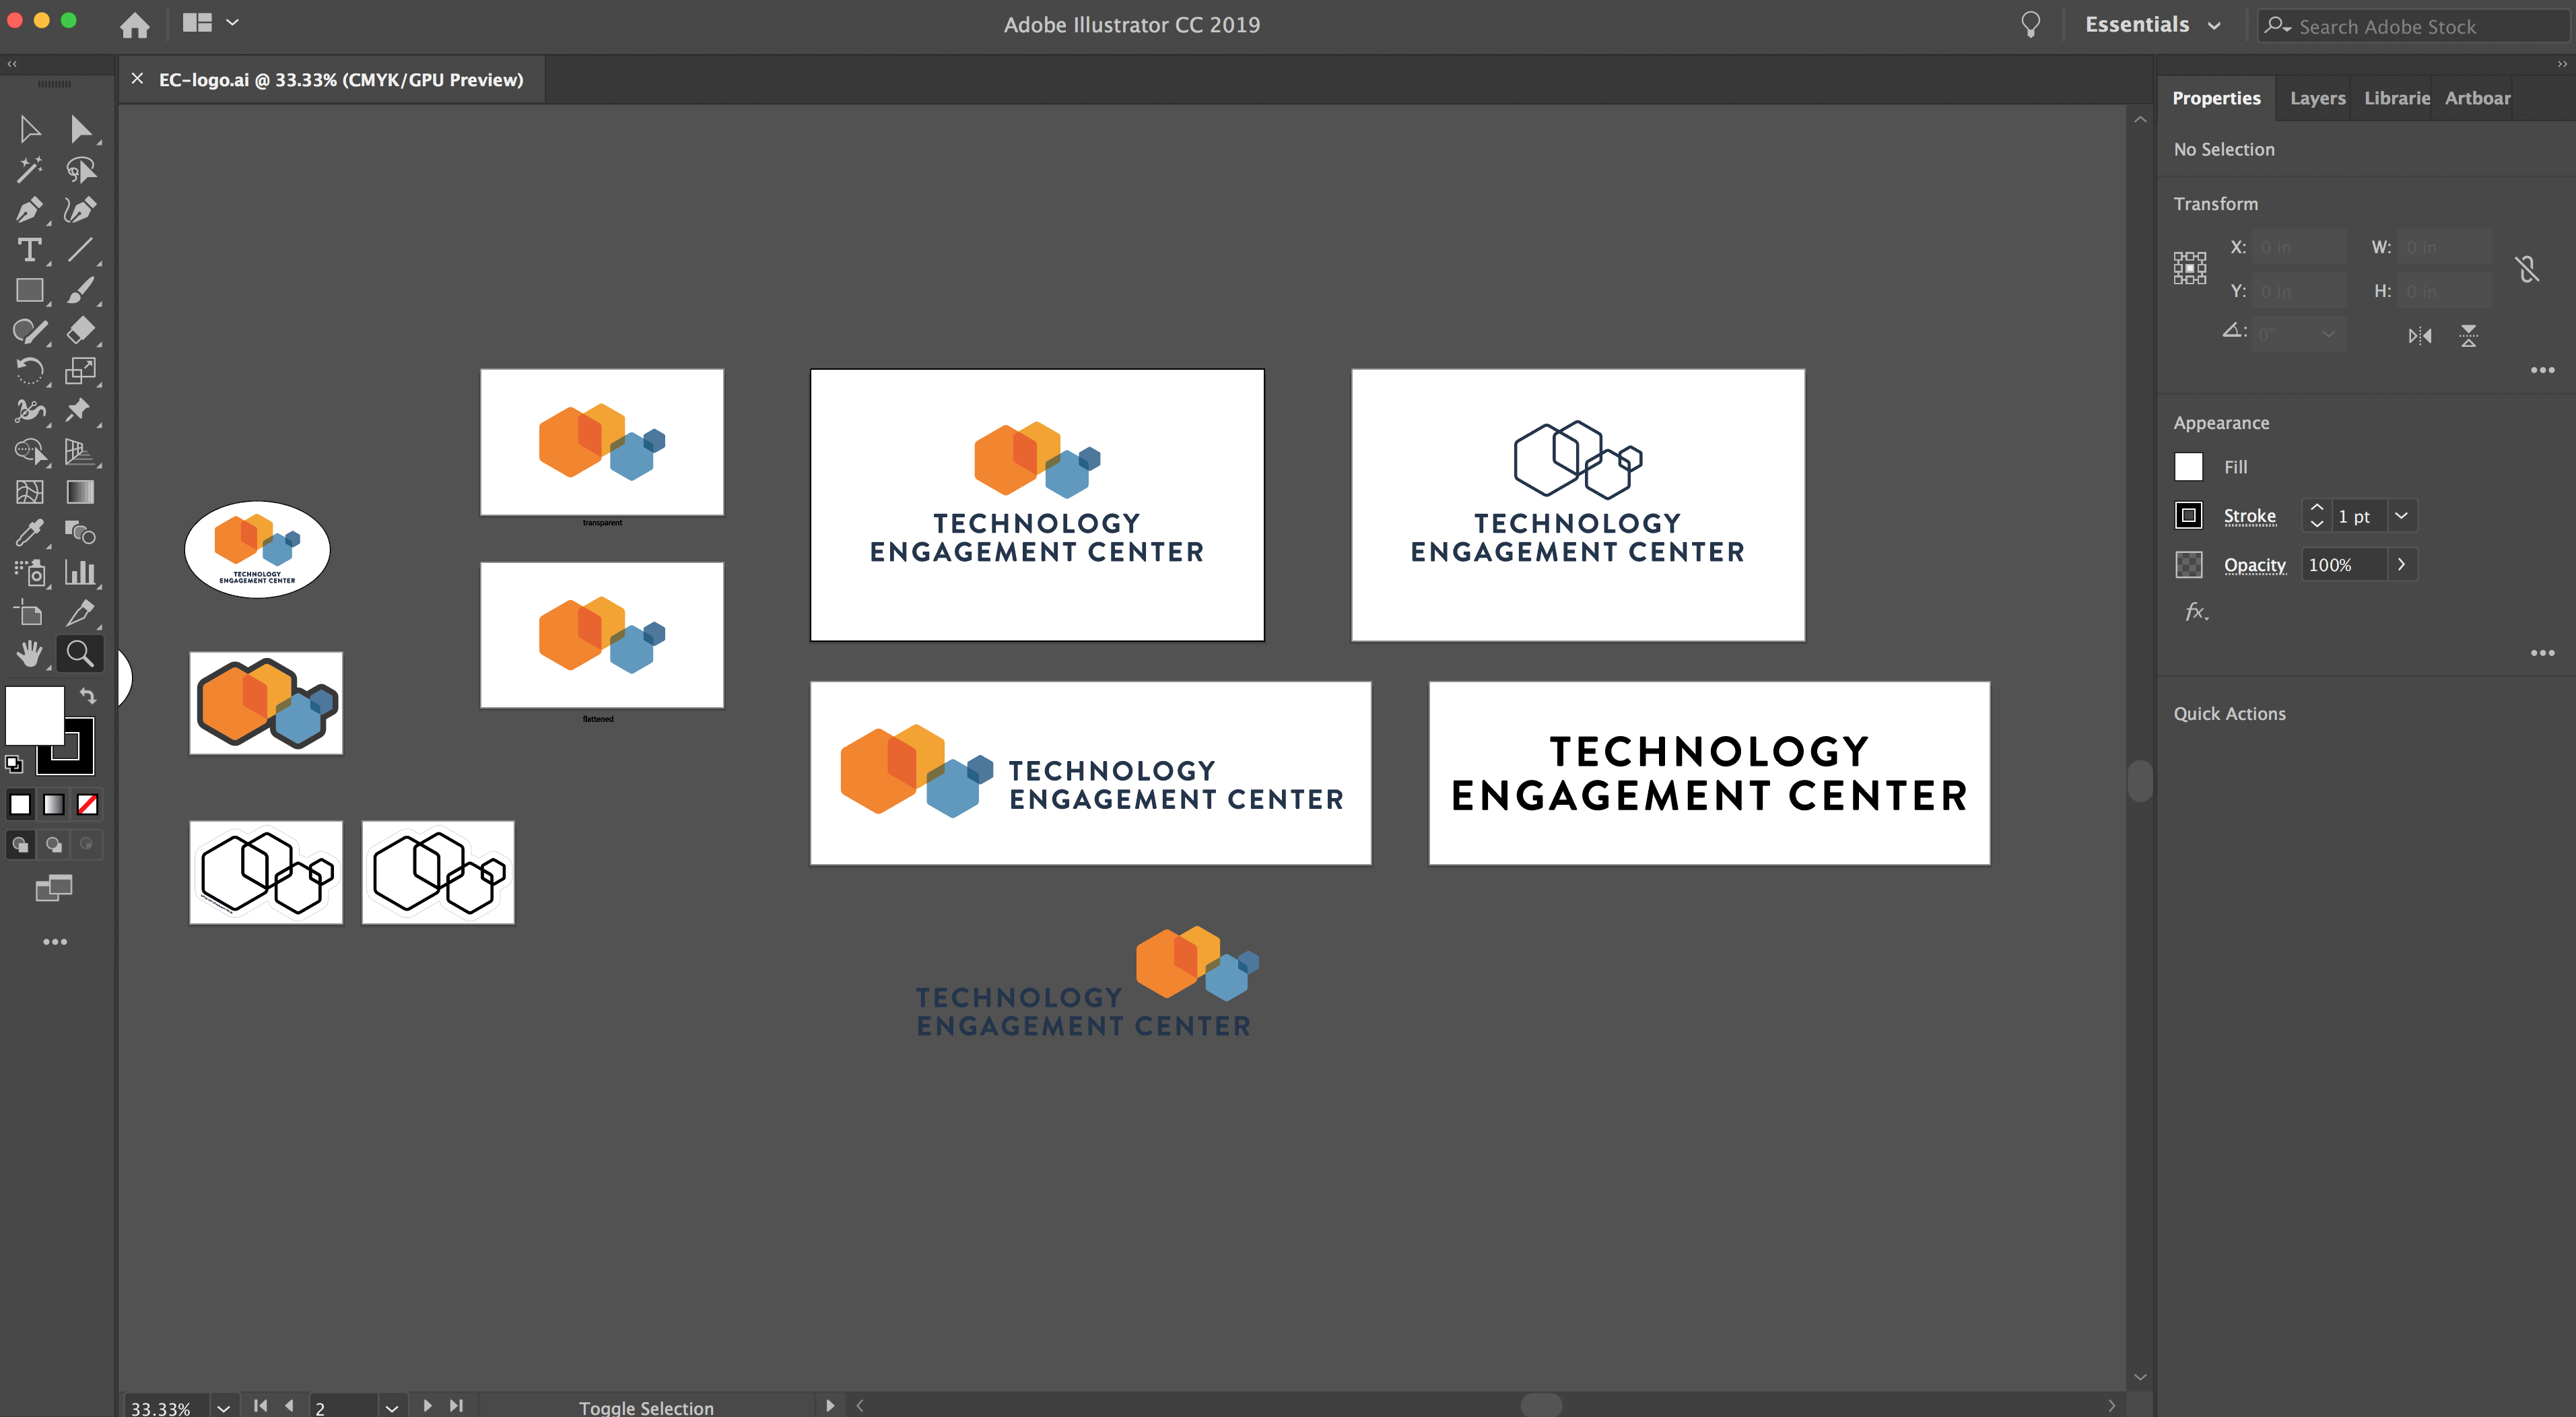
 Illustrator works in layers with each element occupying its own layer with a respective transfer mode that affects how that layer interacts visually with the layers beneath it. If the elements were “flattened” into one layer each overlapping region of the hexagons would be its own shape. This wouldn’t do for my application and would also result in my needing to animate seven shapes (three overlapping regions) instead of the initial four. I noted that the layer transfer mode was “Multiply” with the color of the topmost layer multiplying the color values of the layer beneath it. This comes in handy later so note this in your own projects if you copy this workflow! The next step after noting the characteristics of the logo was to export for After Effects. I exported each layer separately.
 I exported utilizing the PSD export option as that option yields the option to utilize layers. You could export separate PNGs but I know that After Effects handles PSD files fine. You must use CMYK and check “write layers” as an option. The other settings were fine. Now it’s time to open Adobe After Effects!

I created a new comp in After Effects that reflected the size of the video that I’m using: 1280 x 720. I then imported my Photoshop layers into the project panel then dragged them down into the comp. Each layer popped up perfectly sized and in position. Now it was time to animate. This was quite honestly the easiest part but it can be more complicated based on what you do. I had five layers. One for each hexagon and one layer for the text which I decided to animate as one object.
First I changed my transfer mode for the hexagon layers to multiply to copy the same visual effect that existed in the Illustrator file. Told you that information was going to be handy!
 I left the bottom text layer and hexagon layer modes as normal as there was no need for them to interact with anything behind them. I wanted to give the illusion of a “fly in” effect so I created position and size key-frames for each hexagon about 3 seconds in. I then went to the beginning of the comp and enlarged each heaxagon significantly and moved them off screen with each hexagon going to a different quadrant of the screen. Four hexagons. Four quadrants. Simple.
 Lastly I did a horizontal blur and opacity fade in on the bottom text layer to bring in the text. Here’s the result in animated GIF format.
 That’s it! The entire process (assuming that your files aren’t flattened and too complex) took only about 30 minutes from start to finish. Given you can get as complex as you like with your logos when you get them into After Effects, but the process is still the same and straightforward. Try it out and let me know how it works out for you!